
RGB LED earrings (36 LEDs, with microphone)
These are new earrings, very similar to my previous 36-LED earrings but with an extra button (to make it easier to cycle through many modes) and a microphone (for audio reactivity and programming custom patterns). Other than that, they're almost identical: same MCU, same LEDs, same PCB shape, etc.
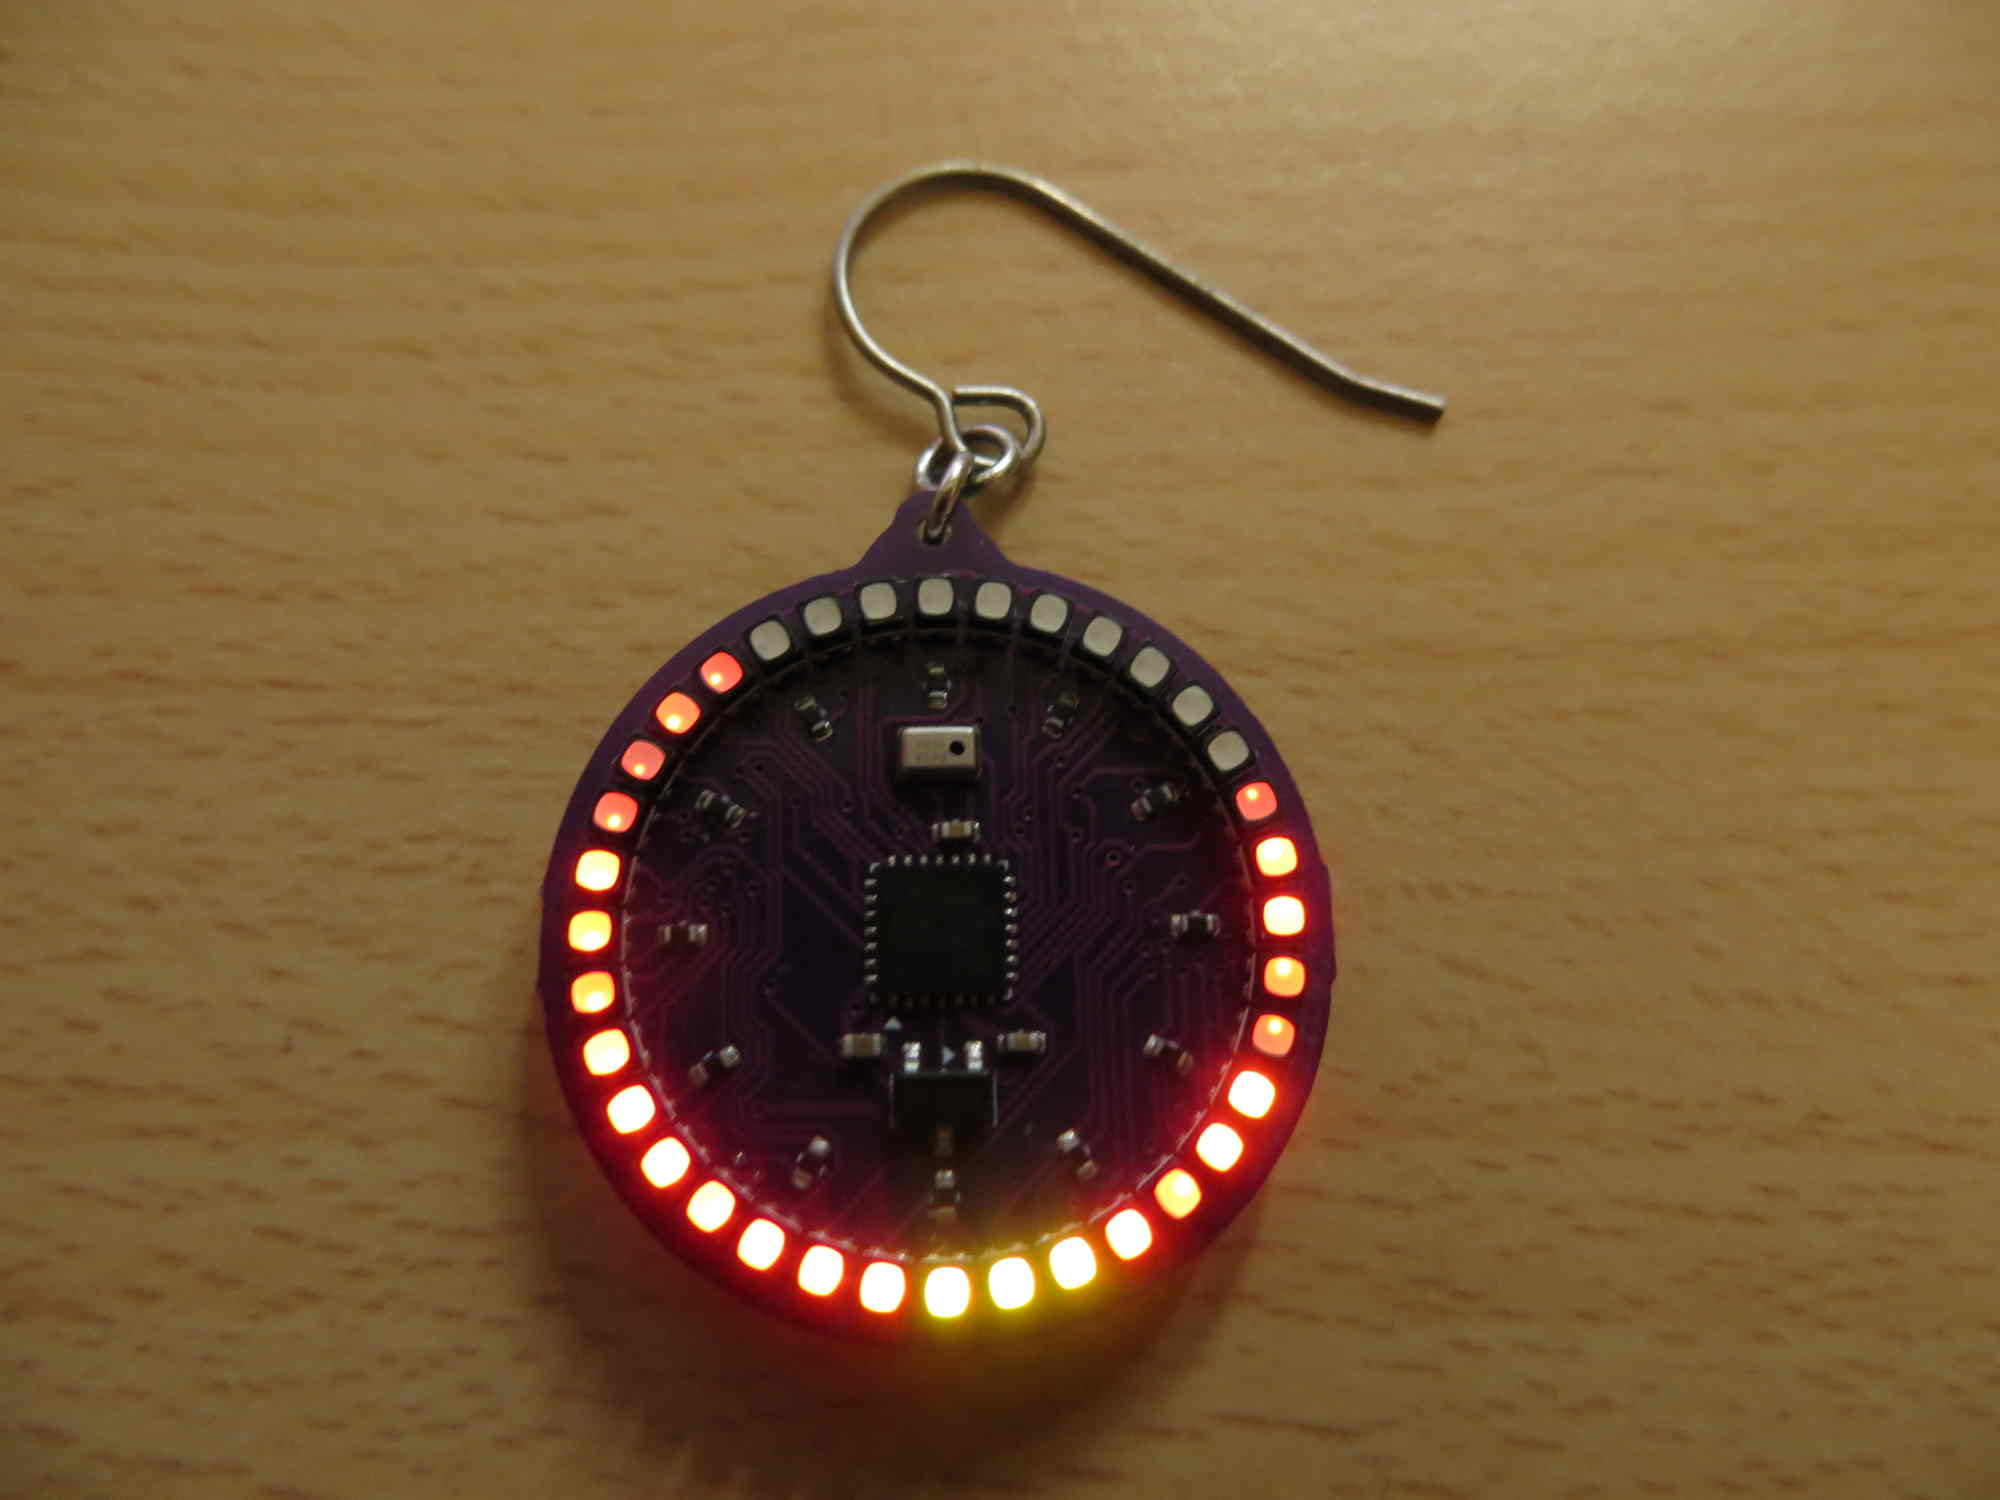
You can find the KiCad design files, source code, and instructions on how to program them on the GitHub page.
I sell them on Lectronz!
Custom patterns
These earrings support custom patterns! You can write your own in a web editor and upload them via sound. Initially these custom patterns are 1-3 blue LEDs but they will switch to a saved pattern after 1 second (if one has been uploaded).
Warning: this feature is EXPERIMENTAL. There may be bugs. Patterns run without sandbox, directly as machine code on the earring so be especially careful with code shared by others. A malicious pattern can brick the firmware. While I test each earring to check whether this feature works, I cannot at the moment guarantee that it will work (but please contact me if it doesn't).
Steps to make a custom pattern:
- Design your own pattern in the LED editor. You can program something yourself, or use a pattern shared by someone else. At the moment, the FastLED platform has the best support. Make sure to keep it small, a custom pattern can only be 1.5kB in size!
- Put the earring in programming mode, by first going to the custom pattern you want to replace (1-3 blue LEDs) and then long-pressing the "variant" button. The blue LEDs will turn faint purple.
- Press the "scream" button in the web interface. Warning: this will produce a loud noise!
- Hold the earrings close to the speaker (the small rectangular metal component on the front is the microphone, it should face the speaker). Watch the LEDs: purple means ready to receive, blinking means receiving data, and green means fully received and writing the pattern to flash.
- Enjoy the new pattern! It should start running immediately. Small differences in color and speed of the animation are expected, but it should look very similar.
If transmission is interrupted, that's no problem. Just keep the microphone close enough that it will continue receiving data. Once enough blocks of data have been received, the binary can be recovered. This is thanks to a simple fountain code.
Not all speakers will produce clean enough sound for this to work. It appears that headphones (at high volume) and small Bluetooth speakers work best. Phone speakers may or may not work. Fancy speakers with multiple cones (separate bass/treble) and laptop speakers may not work at all. You'll have to experiment a bit to find out!
Other tips:
- Hold the earrings close to the speaker, and keep the distance constant.
- Avoid noise and vibration in the environment.
- Use a high volume, but don't make it overly loud.
- Make sure to use a fresh battery, it may not work well with a battery that's starting to run out of power. (Or: connect the VCC/GND pins to a 3.3V power source for an extra boost - make sure to remove the coin cell first!)